Minute Almond Blanching: The Secret to Superior Baking and Homemade Flour
Have you ever found yourself eyeing a recipe calling for blanched almonds, only to instinctively reach for the store-bought bag? Or perhaps you've envisioned the task of removing stubborn almond skins as a culinary Mount Everest, best left to professionals? It's a common misconception, but here's a delightful secret: learning how to blanch almonds in five minutes is not only incredibly simple but also a game-changer for your baking, cooking, and overall ingredient quality. Forget the myth of complexity; this quick and efficient technique will empower your kitchen adventures, proving that superior ingredients are often just minutes away.
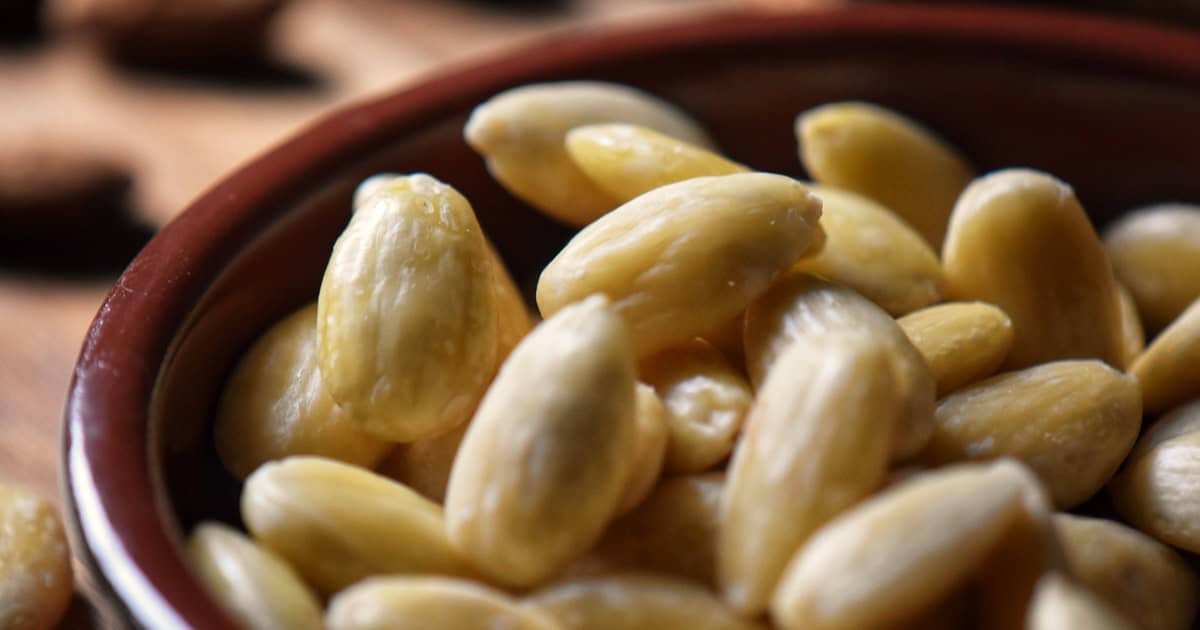
Blanching almonds is, at its heart, a straightforward process designed to loosen and remove their papery brown skins. The result? Smooth, creamy-white nuts perfect for a myriad of uses. While pre-blanched almonds are readily available, mastering this skill at home offers compelling advantages. Not only is it remarkably more cost-effective in the long run, but it also guarantees a level of freshness and control that store-bought options simply can't match. Once you experience the ease and benefits of blanching your own, you'll wonder why you ever considered another route. This isn't just a kitchen hack; it's a fundamental step toward elevating your culinary creations.
Why Embrace DIY Almond Blanching? Unveiling the Benefits
The decision to blanch almonds at home isn't just about saving a few dollars; it's about unlocking a superior culinary experience. From enhanced flavor to unmatched versatility, the advantages are clear.
Beyond the Store Shelf: Freshness, Flavor, and Economy
When you blanch almonds yourself, you control the entire process from raw nut to peeled perfection. This means no unnecessary additives, no lingering doubts about freshness, and a taste that genuinely pops. Store-bought blanched almonds can sometimes carry a subtle stale note or be processed with ingredients you'd rather avoid. Blanching at home ensures you're working with the purest form of the nut, translating to a cleaner, more vibrant flavor in your final dishes. Furthermore, the economic benefits are significant. Raw almonds are consistently cheaper per pound than their blanched counterparts. Over time, these savings add up, especially if you frequently use blanched almonds for baking or crafting your own gluten-free flours. It's a smart, sustainable choice for any home cook.
The Culinary Power of Blanched Almonds
Blanched almonds are the unsung heroes of many beloved recipes, valued for both their aesthetic appeal and functional properties. Without their skins, almonds offer a smoother texture and a milder, sweeter flavor profile that integrates seamlessly into delicate dishes. This makes them indispensable for recipes where the texture or color of the skin would be undesirable. For instance, the iconic French macaron demands the smooth, fine texture that only blanched almond flour can provide, ensuring that coveted crisp exterior and chewy interior. They are also ideal for creating elegant garnishes, creamy almond milk, or adding a sophisticated touch to pastries, tarts, and cakes.
One of the most significant applications of blanched almonds is in the creation of homemade almond flour. This versatile, naturally gluten-free alternative has become a cornerstone for paleo, keto, and Whole30 diets, as well as for those managing gluten sensitivities. Blanched almond flour is not only high in protein and fiber but also packed with essential vitamins, minerals, and beneficial antioxidants. Using blanched almonds to make your flour ensures a fine, consistent powder, free from the speckles and slightly coarser texture that unblanched almond flour can present.
Demystifying the Process: How to Blanch Almonds in Five Minutes
The beauty of blanching almonds lies in its astonishing simplicity. Despite what you might imagine, it's not a lengthy or arduous task. In fact, you'll be amazed at how quickly you can transform raw almonds into perfectly peeled nuts, ready for your next culinary creation. This straightforward method ensures you're never more than a few minutes away from fresh, blanched almonds.
Gather Your Simple Supplies
Before you begin, ensure you have the right ingredients and tools. The good news is, you likely already possess everything you need:
- Raw, Unsalted, Unroasted Almonds: This is crucial. Roasted almonds will not blanch properly, as their skins are already set. Unsalted ensures no unwanted flavor.
Unlock Fresh Blanched Almonds: Easy & Cost-Efficient DIY for the best results. - Water: For boiling and chilling.
- Medium Pot: Large enough to comfortably hold your almonds and water.
- Colander or Strainer: For draining.
- Slotted Spoon: Handy for scooping almonds.
- Clean Kitchen Towels: For drying.
- Bowl of Ice Water (Optional, but Recommended): For an immediate cold shock, which helps halt the cooking process and makes peeling even easier.
The Step-by-Step Guide for Speedy Blanching
Here’s the breakdown of how to blanch almonds in five minutes, a process so efficient it feels like magic:
- Step 1: Bring Water to a Rolling Boil. Fill your medium pot with enough water to fully submerge your almonds. Place it on high heat and bring it to a vigorous, rolling boil. This strong heat is key for quickly loosening the skins.
- Step 2: A Quick Dip. Once the water is boiling rapidly, carefully add your raw almonds to the pot. Let them boil for exactly one minute. Do not overcook, as this can make the almonds soft and difficult to peel, potentially affecting their texture for baking. The brief heat shock is all that's needed to loosen those skins.
- Step 3: Shock and Drain. Immediately remove the pot from the heat. Using a slotted spoon, quickly transfer the almonds into your colander, draining all the hot water. For best results, immediately rinse the almonds under very cold running water or plunge them into an ice bath. This rapid cooling, known as "shocking," stops the cooking process and further contracts the almond, making the skin even easier to slip off.
- Step 4: The Easy Squeeze. Once cooled enough to handle, spread the almonds onto a clean kitchen towel. Take each almond between your thumb and forefinger and gently squeeze. The skin should literally slip right off, revealing the pristine white nut beneath. It's incredibly satisfying! If any skin is stubborn, simply return the almond to the cold water for a moment or give it another quick squeeze.
Pro Tips for Perfect Peeling
- Work in Batches: If you're blanching a large quantity, it's easier to boil and peel in smaller batches to ensure optimal timing and easy handling.
- Dry Thoroughly: After peeling, lay your blanched almonds out on a clean, dry kitchen towel or a baking sheet in a single layer. Allow them to air dry completely for several hours or overnight, or use a very low oven (around 150°F / 65°C) for 30-60 minutes, stirring occasionally. This step is crucial, especially if you plan to make almond flour, as any residual moisture can lead to clumping or spoilage.
- Storage: Once completely dry, store blanched almonds in an airtight container in a cool, dark place for up to two weeks, or in the refrigerator for a month, or freeze for up to six months.
From Blanched Nuts to Baking Gold: Making Your Own Almond Flour
With your perfectly blanched almonds ready, one of the most rewarding next steps is to create your own fresh almond flour. This homemade version surpasses store-bought alternatives in freshness and ensures there are no anti-caking agents or unwanted additives.
The Advantages of Homemade Almond Flour
Beyond being naturally gluten-free, paleo, keto, and Whole30 compliant, homemade blanched almond flour is a nutritional powerhouse. It's rich in healthy fats, protein, and dietary fiber, contributing to satiety and digestive health. Furthermore, almonds are packed with Vitamin E, magnesium, and antioxidants, making your homemade flour not just a baking ingredient but a boost to your overall well-being. Knowing you've prepared it yourself gives an extra layer of confidence in its quality and purity.
The Simple Flour-Making Process
Making almond flour is surprisingly simple, provided your blanched almonds are absolutely, unequivocally dry. Any moisture will result in almond butter, not flour.
- Ensure Dryness: As mentioned, let your blanched almonds air dry completely, ideally overnight, or gently toast them in a low oven until crisp.
- Process in Batches: Place a portion of the dried blanched almonds into a food processor or a high-speed blender. Avoid overfilling.
- Pulse, Don't Blend: Pulse the almonds in short bursts, typically 10-15 seconds at a time. The goal is a fine, consistent powder. Blending continuously will release the oils and turn the mixture into almond butter. Stop as soon as you reach a flour-like consistency.
- Sift for Finesse: For truly fine almond flour, like that required for macarons, sift the processed flour through a fine-mesh sieve. Any larger pieces can be re-pulsed or saved for another use, like sprinkling over oatmeal.
- Storage: Store your fresh almond flour in an airtight container in the refrigerator for up to a month, or in the freezer for even longer, to maintain its freshness and prevent rancidity.
Maximizing Your Blanched Almonds: Beyond Flour
While almond flour is a primary use, blanched almonds offer a world of other culinary possibilities:
- Elegant Garnishes: Finely slice blanched almonds to create beautiful slivered almonds for salads, pastries, or as a topping for roasted vegetables. They can also be toasted for an extra layer of nutty flavor.
- Creamy Dairy Alternatives: Use blanched almonds to make incredibly smooth and creamy homemade almond milk or almond butter. The absence of skins results in a much silkier texture.
- Snack Time Savvy: Lightly toast blanched almonds with a sprinkle of sea salt or your favorite spices for a healthy, satisfying snack.
- Baking Staples: Beyond macarons, blanched almonds are essential for traditional recipes like frangipane, marzipan, financiers, and various cakes and cookies where a delicate texture and light color are desired.
Conclusion
Discovering how to blanch almonds in five minutes is truly one of those kitchen skills that keeps on giving. It’s a simple, quick, and immensely satisfying process that opens up a world of culinary possibilities, from creating your own fresh, nutritious almond flour to crafting exquisite baked goods and healthy snacks. By taking just a few minutes, you gain control over the quality, freshness, and cost of your ingredients, far surpassing anything you can buy in a store.
Don't let the idea of peeling nuts intimidate you any longer. Embrace this easy technique and elevate your cooking and baking to new heights. You'll not only save money but also infuse your dishes with the unparalleled taste and texture that only freshly blanched almonds can provide. For more detailed guides and to truly master the art, check out our companion articles: Blanch Almonds in 5 Minutes: The Super Simple Home Guide and Unlock Fresh Blanched Almonds: Easy & Cost-Efficient DIY. Happy blanching!
